Lashes
Top Tips on How to Clean False Lashes for Reuse
Wondering how to clean false lashes effectively? Regular cleaning is crucial for extending their lifespan and keeping your eyes healthy. In this guide, you’ll learn simple steps to clean various types of false lashes, from strip lashes to mink and magnetic lashes, so they’re always ready for reuse.
Key Takeaways
Regular cleaning of false lashes is essential for maintaining their quality, extending their lifespan, and preventing eye infections.
Use specific tools like tweezers, cotton swabs, oil-free makeup remover, and a clean towel to effectively clean different types of false lashes such as strip, mink, silk, and magnetic lashes.
Proper storage in the original case away from moisture and sunlight helps preserve the lashes’ shape and quality, enhancing their reusability.
Top Tips on How to Clean False Lashes for Reuse

Regular cleaning is the cornerstone of extending the life of your false lashes, keeping them looking as good as new. The delicate fibres of your falsies are a magnet for eye makeup, skin oils, and everyday grime, which can compromise their beauty and your eye health. Adopting a routine to clean false eyelashes after each wear will help you prevent infections from buildup and achieve a flawless application each time.
Neglecting your lashes can be a costly mistake, leading to frequent replacements and, worse, the risk of eye infections from bacterial buildup. But fear not, as cleaning your lashes is a simple affair that can save you money in the long run. Embrace the habit of lash care, and you’ll find yourself reaping the benefits of reuse, making the most out of every lash set you own.
Introduction
False eyelashes, also known as fake eyelashes, have soared in popularity over the past decade, becoming a staple in beauty routines across the globe. From the dramatic flair of strip lashes to the sophisticated subtlety of mink and silk varieties, there’s a lash style to suit every occasion and preference. Yet, while these tiny wonders work tirelessly to elevate our eyes to new heights, their maintenance, especially for fake lashes, is often overlooked when wearing false eyelashes.
Maintaining your lashes is straightforward, with a few tools and techniques required to keep them in shape, prolong their use, and avoid breakages or allergic reactions. With the right care, you can keep your lashes looking beautiful and feeling comfortable, time and time again.
Importance of Cleaning False Eyelashes
Imagine wearing the same shirt day after day without washing it. Unthinkable, right? The same principle applies to your false eyelashes. Each wear leaves behind a trail of makeup, skin oils, and potential irritants that can degrade the quality and integrity of your lashes. Regular cleaning not only extends the lifespan of your falsies, allowing you to reuse false eyelashes but also ensures their optimal performance.
More importantly, your eyes are precious, and protecting them from infection is paramount. Dirty lashes can harbour harmful bacteria that pose a threat to your eye health. A clean lash not only looks more appealing but also ensures you’re not introducing any unwanted guests to your delicate eye area. Embrace the practice of cleaning your eyelashes as a non-negotiable part of your beauty regimen.
Essential Tools for Cleaning False Lashes

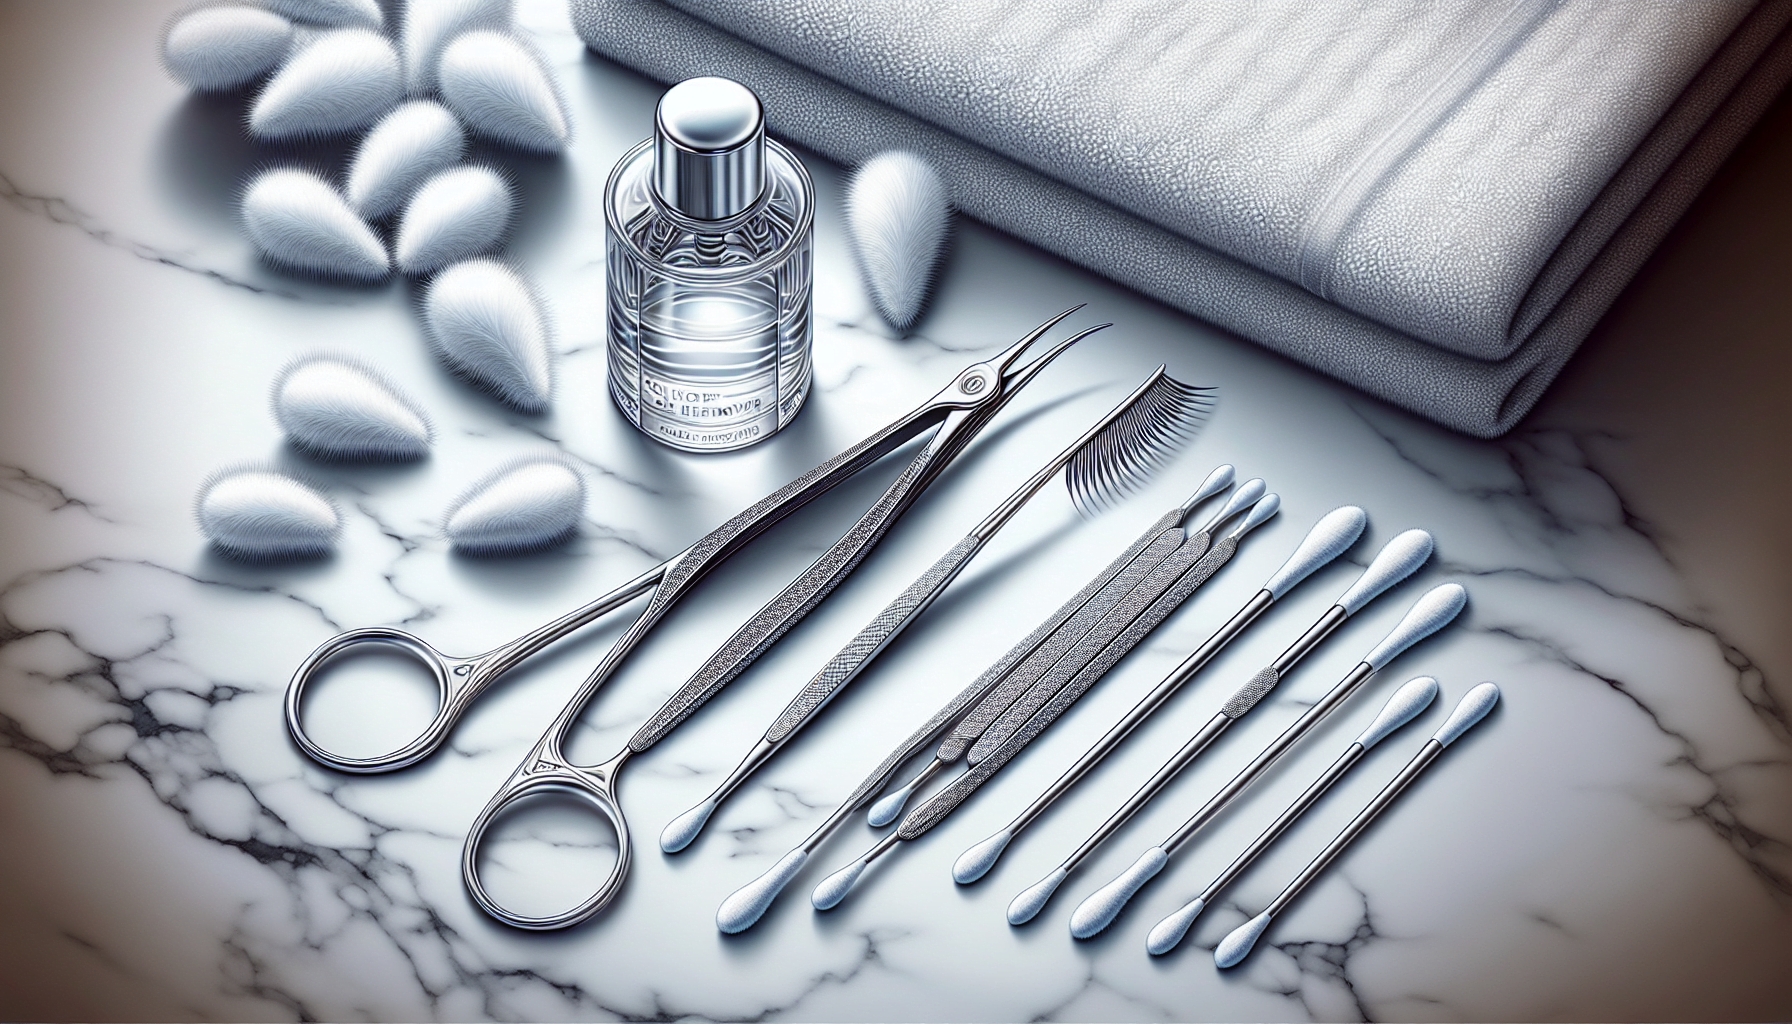
Before we start the cleaning process, ensure you have all the necessary tools ready. A small arsenal is all you need to keep your lashes in top-notch condition. Reach for your trusty tweezers, a couple of cotton swabs, some oil-free makeup remover, an eyelash comb, and a clean towel – these essentials will be your best friends in the battle against lash grime.
Equipped with a lash brush and gentle cleanser, you’ll be able to navigate the intricacies of lash cleaning with ease, ensuring that every fibre is catered to without causing any damage. Once you’ve gathered these tools, you’re prepared to follow the step-by-step process to restore your lashes to their pristine condition.
Step-by-Step Guide to Cleaning Strip Lashes

Cleaning your strip lashes is a straightforward process that, when done correctly, can vastly extend their life and maintain their shape. It’s a ritual that starts with careful removal and ends with a meticulous clean, readying your lashes for their next debut.
Follow this guide, and you’ll master the art of lash maintenance in no time.
Remove Excess Glue
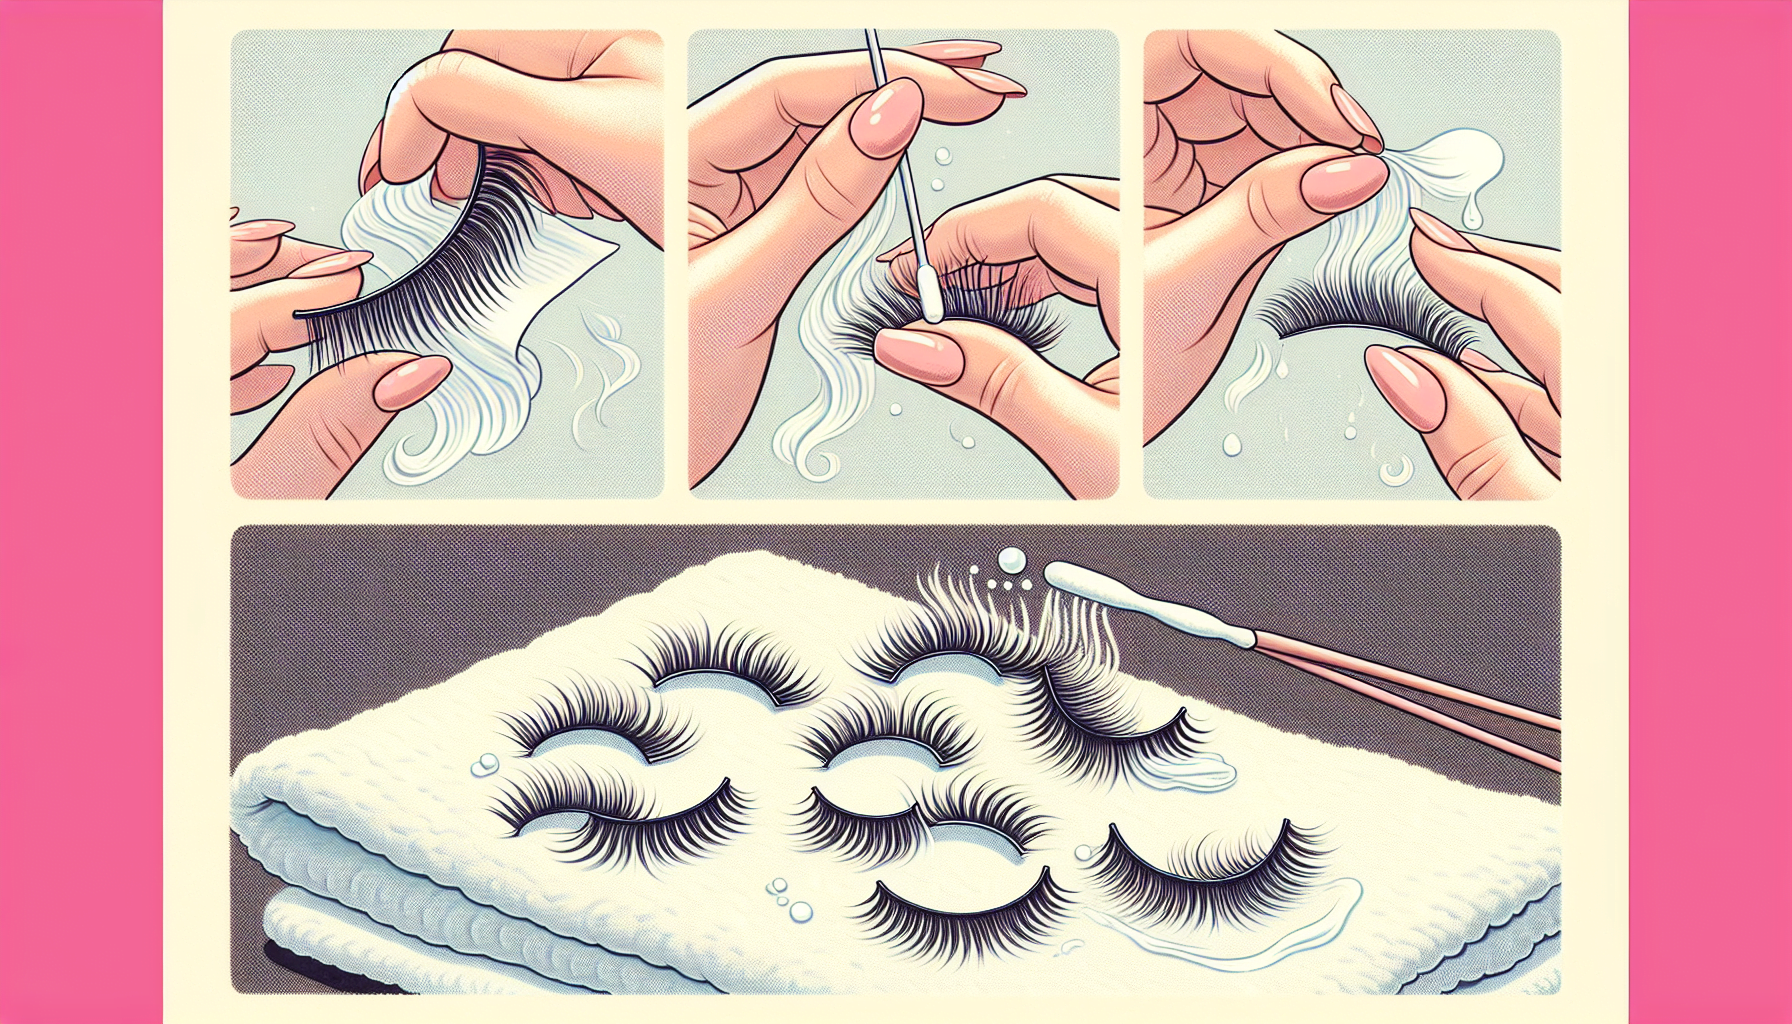
Firstly, tackle the residual adhesive that’s clinging onto the lash band. With precision, use tweezers to gently remove any excess glue without pulling too hard. This step is vital as it not only preserves the shape of your lashes but also guarantees comfort and ease during your next application. Be gentle, and work with care to avoid damaging those delicate fibres.
Clean with Makeup Remover
Next, dampen a cotton swab with a water-based eye makeup remover and glide it across the lash band. This step is not only therapeutic but also vital for removing traces of eyeliner and mascara that have become intertwined with your lashes.
Remember, oil-based removers are a no-go; they can weaken the bond of your lashes, leaving them limp and lifeless.
Dry Completely
Finally, to dry your lashes:
Lay them flat on a clean towel.
Let them air dry in their natural shape to prevent deformity.
Take your time and ensure they are completely dry to prevent mould or bacteria growth.
Cleaning Mink and Silk Lashes

Mink and silk lashes, including mink lashes, demand a special touch. These luxurious fibres can serve you well for up to 20 years, but only if treated with the care they deserve. Avoiding water is key; instead, opt for gentle cleansers that can whisk away impurities without compromising their delicate structure.
Gentle Cleaning Techniques
For these premium lashes, a dab will do. Micellar water, known for its gentle cleansing properties, is your best bet. Use a Q-tip to delicately clean the lash, ensuring you don’t soak them.
This method preserves their softness and shape, leaving them ready for their next outing.
Removing Residual Glue
With mink and silk lashes, removing residual eyelash glue is just as important as with strip lashes. Tweezers come into play once more, as you carefully pick away at the glue, safeguarding the lashes’ integrity. Be gentle, as these fibres, though forgiving, have their limits.
Proper Drying Methods
Once cleaned, lay your mink and silk lashes flat and let them air dry on a clean surface. If they’ve lost a bit of their curl, fear not – a clean, dry spoolie can coax them back into their sumptuous curve.
Maintaining Lash Extensions
Lash extensions are a different beast, requiring a dedicated routine to keep them looking lush. Cleansing these semi-permanent lashes 2-3 times weekly using an oil-free lash cleanser sustains their allure.
Using Oil-Free Cleanser
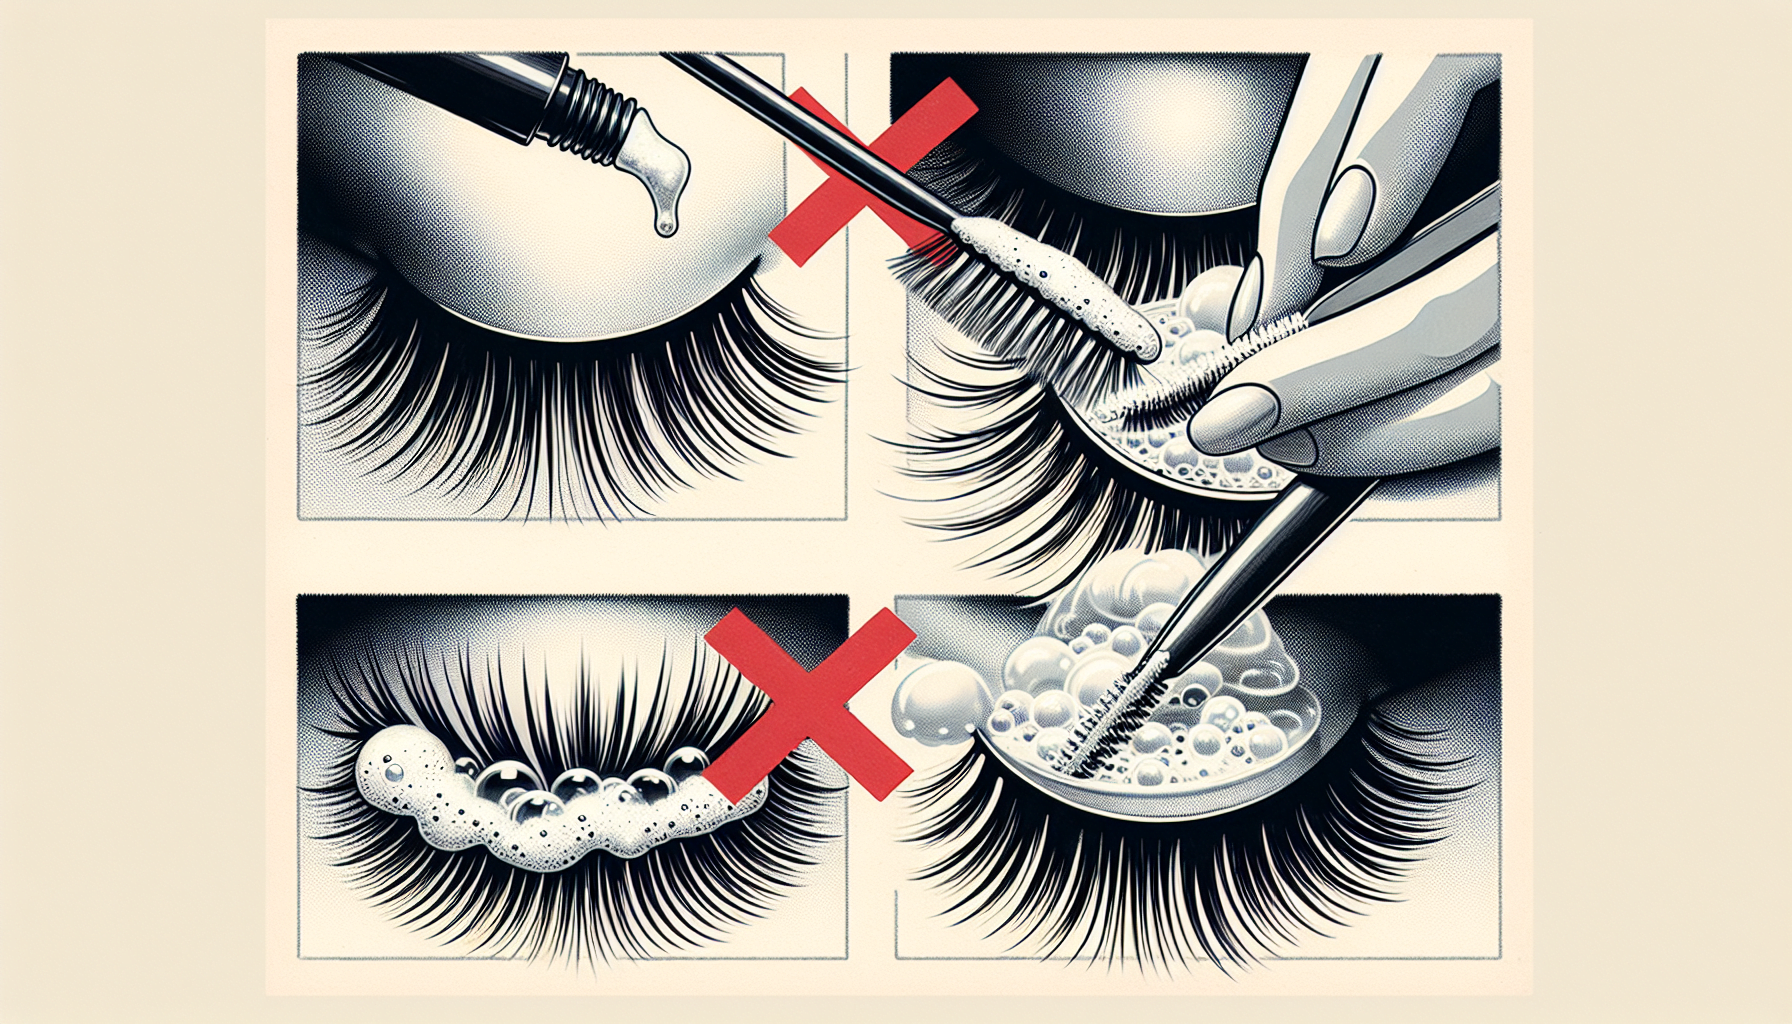
Lash extensions and oil do not mix. An oil-free cleanser applied with a soft touch will ensure that your extensions stay clean without loosening their hold. A gentle cleansing brush can be a handy tool in this step, allowing you to navigate through each lash without causing any undue stress.
Rinsing and Drying
After cleansing, it’s time to rinse and pat dry with the softest touch. A clean paper towel or tissue will do the job, absorbing moisture without disturbing the extensions’ placement.
Then, let them air dry, and they’ll be as good as new.
Best Practices for Magnetic Lashes
Magnetic lashes are the newcomers on the block, offering simplicity and convenience. However, they, too, require a special cleaning approach to ensure their magnets remain effective for future use.
Removing Dried Liner
The magnetic allure of these lashes can be dulled by the buildup of dried eyeliner. Carefully scrape off the residue with a fingernail or tweezers, ensuring you don’t compromise the magnets.
Applying Makeup Remover
A cotton swab dipped in an oil-free makeup remover is perfect for cleaning the magnetic strips. Pay particular attention to the magnets, as they’re the heart of these lashes’ functionality.
Air Drying
After cleaning, lay your magnetic lashes on a dry towel and let the air do its work. Ensure they are bone dry before storing or reapplying to prevent any loss of magnetism.
Tips for Storing Cleaned False Lashes

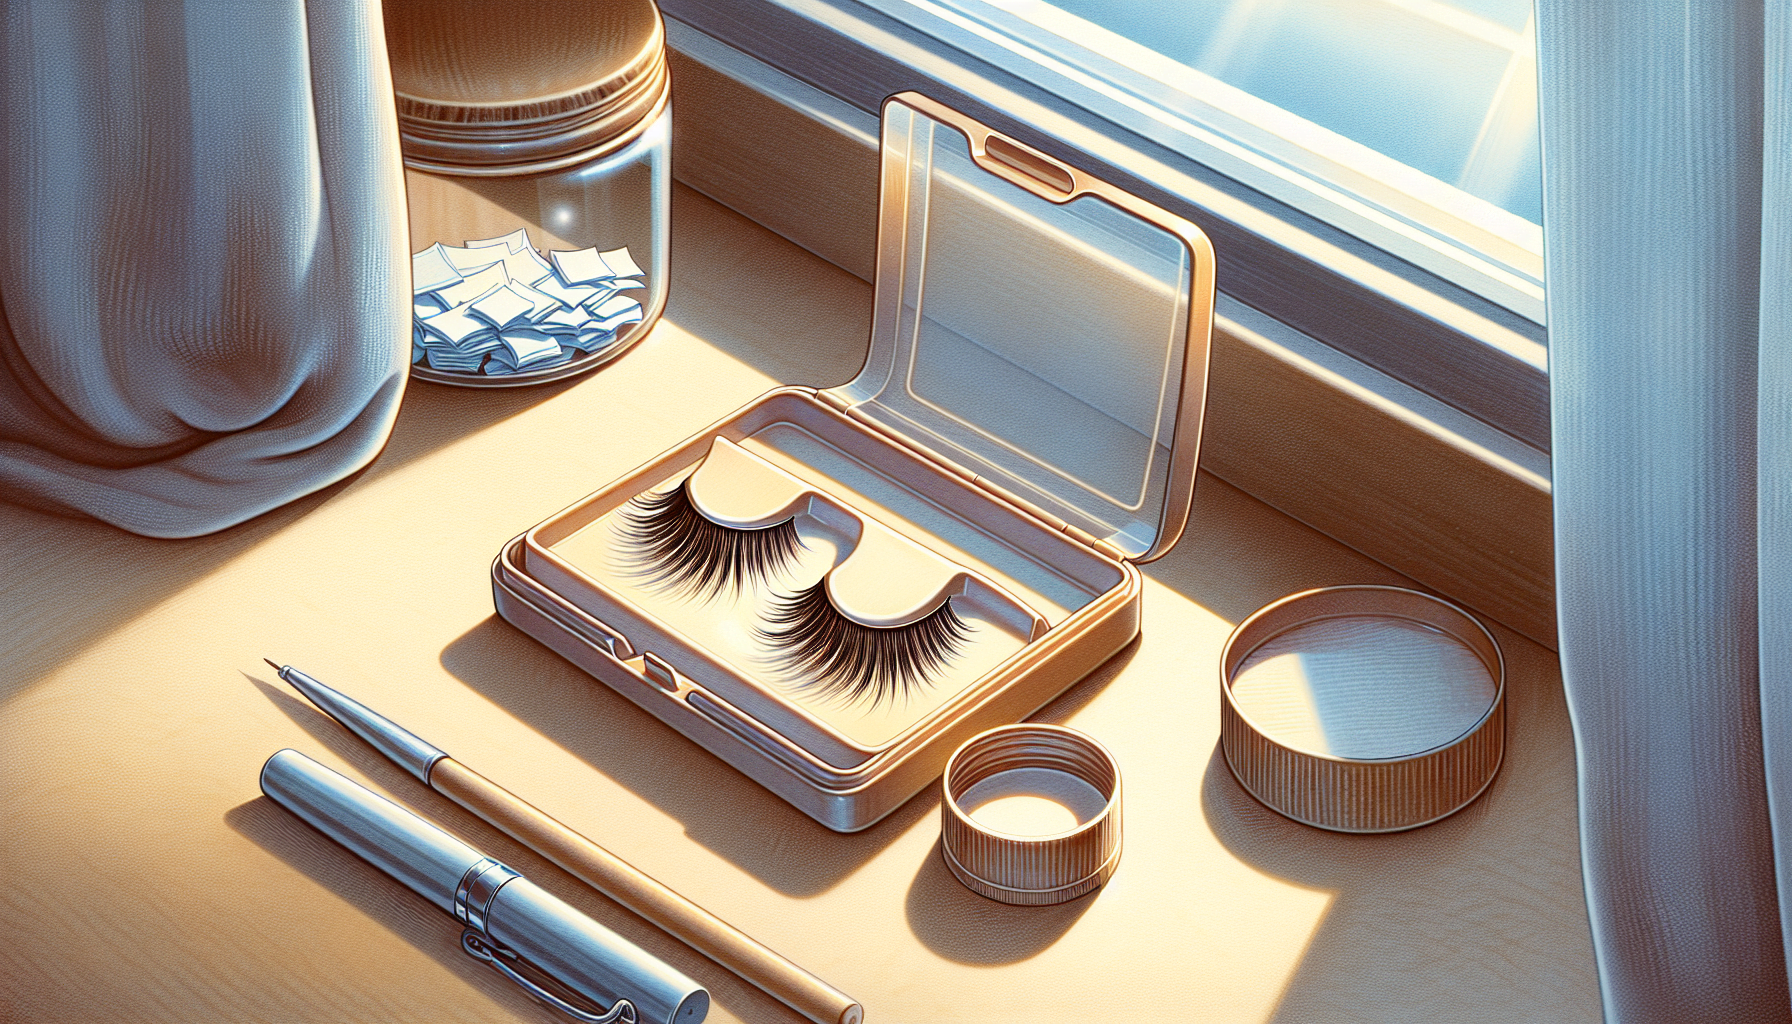
With your lashes now clean, it’s time to discuss storage. The original case is their sanctuary, designed to keep their shape and protect from dirt and dust. A disposable mascara wand or spoolie can be used to finesse them into place before closing the lid, ensuring they are stored and maintained with lashes properly in mind.
Store your lashes away from moisture and sunlight, as these elements can severely damage their form and colour. And don’t forget to label the case with the date of their last use, this will help you keep track of their lifespan and ensure you’re not holding onto lashes past their prime.
Summary
To wrap it up, the life of your false lashes is in your hands. Regular cleaning and proper storage are the keys to ensuring that your lashes stay as fluttery and fabulous as the day you bought them. Remember, each type of lash requires a slightly different approach, but the principles of gentle handling, thorough cleaning, and careful drying apply across the board.
Embrace these practices and watch as your lashes deliver time and time again, proving that a little care goes a long way. Let your eyes do the talking, safe in the knowledge that your lashes are clean, comfortable, and ready for their close-up.
Frequently Asked Questions
You should clean your false lashes after each use to remove makeup, skin oils, and bacteria, keeping them ready for the next wear.
No, using oil-based makeup remover on your lashes can weaken the adhesive and fibres of false lashes. Try a water-based or oil-free makeup remover for better results.
After cleaning your lashes, lay them flat on a clean towel or paper towel to air dry completely, ensuring they maintain their shape. Avoid using a hairdryer as it can damage the lashes.
No, soaking mink or silk lashes in water can damage them. You can use gentle cleaning techniques with micellar water or oil-free makeup remover instead.
Keep your false lashes in their original case to maintain their shape and protect them from dust. Store them in a dry location out of direct sunlight, and consider labelling the case with the date of last use. This will help you keep track of their condition and ensure they stay clean and ready for use.
